

Step-by-Step Guide to Laying Herringbone Flooring
With its eye-catching rectangular pattern, herringbone flooring is a popular style for floors. In this guide, we’ll take you through everything you need to know, including how to lay herringbone flooring.
Planning and Preparation
Before you contact us about laying herringbone flooring, you need to understand three key factors: the pattern, the tools and materials required, and how the space is measured and prepared.
Understanding the Herringbone Pattern
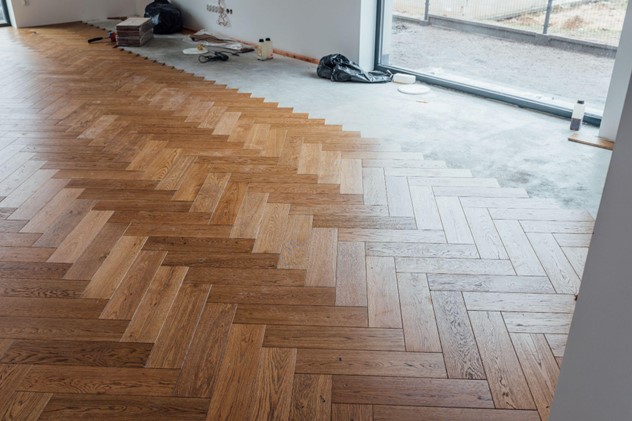
The herringbone pattern is made up of rectangles, set out to look like the bones of a fish. The composition draws the eye, making it a fascinating addition to any room. There are multiple types of herringbone pattern, including traditional (which uses single planks of wood) and double (in which planks are laid in pairs).
In terms of wood, you have a number of options, such as oak, birch and different types of maple, with the best option depending on what you think would look best on your floor.
Tools and Materials Needed
Laying a herringbone floor requires a number of tools. These include chalk, a tape measure, a saw, adhesive and spacers.
Measuring and Preparing the Space
A tape measure is used to find out the length and width of the room. These are then multiplied to find the room’s area in square feet.
Once this is done, the next step is to prepare the subfloor. This involves checking for any signs of damage (such as from moisture, or cracks in the subfloor), and vacuuming, if necessary. Any paint can be removed with a chemical stripper. Next, the subfloor is levelled, either with a levelling compound, or by shimming (placing a thin layer of material over the subfloor), grinding or sanding. If the subfloor has damp, or it’s made of concrete, a moisture barrier will be installed to protect it from further damage.
The layout should start in the middle of the room, with the first few rows dry-fitted to make sure that they’re accurate.
Installing the Herringbone Pattern
The following steps are used to align and secure the first pieces:
Laying the First Row
The first row is the most important, as it sets the pattern. Again, it usually starts in the middle of the room. Pieces are laid from left to right to develop the herringbone shape.
Continuing the Pattern
The process is continued across the room. The floor installers will make sure that the pieces click together, avoiding any gaps.
Cutting and Fitting Edge Pieces
Around the room’s edges, a gap of around 10 mm is left for the skirting board. Cutlines are marked on some of the pieces of flooring, so that they can be cut to fit around doorways and uneven walls.
Finishing Touches
Finally, these steps will be followed to secure the last few pieces of the pattern:
Securing and Finalising the Flooring
The installers will check for any loose or misaligned pieces by visually inspecting and touching the floor.
Sanding and Sealing
Sanding might be needed if there are any imperfections in the wood. The floor should then be sealed to protect it from wear and tear – this also boosts its appearance!
Cleaning and Maintaining Your Herringbone Floor
The floor should be cleaned with a mop to avoid scratching it, or vacuumed with an attachment designed for wooden floors.
Common Mistakes to Avoid
The process of laying the floor should not be rushed, as this can lead to mistakes.
Room measurements must be accurate, so that you don’t end up with too much or too little wood.
Never sweep with a hard-bristled broom; this can scratch the floor.
Frequently Asked Questions
- Q: Where do you start laying herringbone flooring?
- A: In the middle of the room.
- Q: How to layout a herringbone pattern?
- A: Mark an ‘x’ in the centre of the room. Angle the first plank 45 degrees to the upper corner. Angle the second plank at 90 degrees to the first, so that they lie in opposite directions.
- Q: Do you put underlay under herringbone flooring?
- A: Yes. Underlay protects against moisture.
- Q: Does herringbone flooring need to be glued down?
- A: Yes. All planks must be glued in place.
Interested in herringbone flooring? Contact us today to find out more.